
How to Grow Rice Intensively: The System of Rice Intensification (SRI)
In Africa, and in Cameroon in particular, demand for rice on the world market keeps growing. Yet despite the Green Revolution, production isn't keeping up with demand.
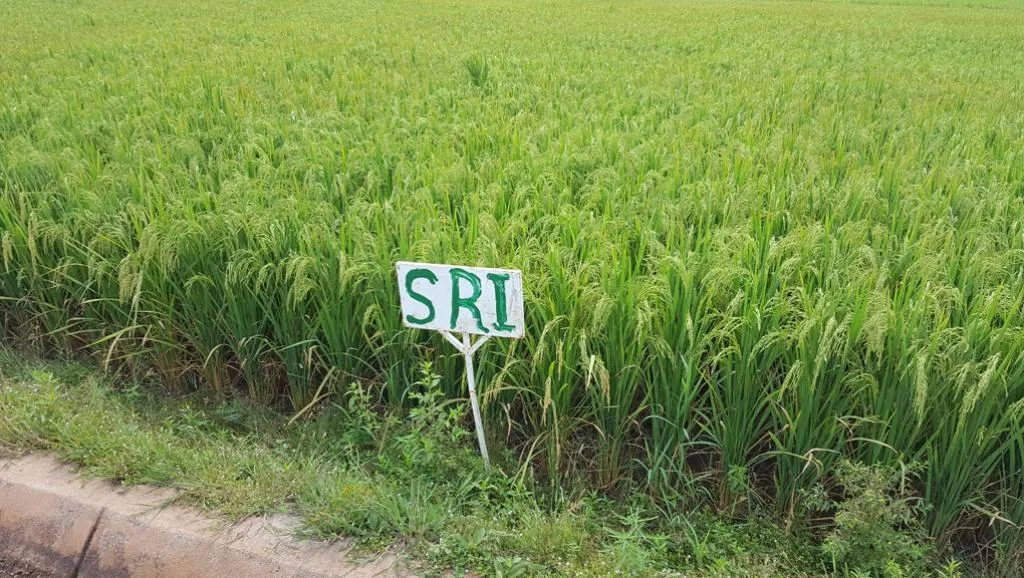
In Africa, and in Cameroon in particular, demand for rice on the world market keeps growing. Yet despite the Green Revolution, production isn't keeping up with demand. Irrigated rice farming is practiced by millions of farmers around the world. This type of rice farming relies on keeping paddies almost permanently flooded, which is a major source of methane production. Transplanting is done late and with plant densities that are too high.
Because of population pressure and, often, a lack of land and water, other farming methods need to be used to improve rice yields: the System of Rice Intensification (SRI).
The System of Rice Intensification (SRI), developed in Madagascar in 1983 by Father Henri de Laulanie, is one of these innovative farming methods that can considerably improve yields, without needing to buy inputs that are often expensive and hard for smallholder farmers to access.
ALSO SEE: How to grow organic celery
The major discovery is that rice is not actually an aquatic plant, but one that should be grown with alternating water management. It was also shown that the earlier rice is transplanted, the greater its tillering ability (the emergence of stems or tillers from the transplanted seedling). A single seedling can produce up to 80 tillers, or even more. Over a year, and depending on soil and climate conditions, it's possible to grow up to 3 rice cycles as well as off-season vegetables. The compost added to the paddy for vegetable growing also benefits the rice.
The main steps of the System of Rice Intensification (SRI)
- The conditions to follow in order to achieve good yields are as follows:
- Selecting and sorting the seed
- Pre-germinating the seed
- Preparing the dry nursery bed and sowing
- Widely-spaced transplanting of two-leaf seedlings
- Laying out the paddy and managing water
- Maintaining the paddy
- Harvesting
- Managing soil fertility
- Selecting and sorting the seed
To set up the nursery, quality seed is chosen: improved varieties or, more simply, seed harvested from the previous season.
The good seeds are then sorted from empty ones by soaking them in water and discarding the empty seeds that float on the surface.
Pre-germinating the seed
Pre-germination saves time at sowing. To pre-germinate properly, the seeds are placed in a breathable bag (such as cloth or a jute sack) and soaked in a river or a bucket of lukewarm water (30 degrees C) for 24 hours. The bag is then taken out of the water and placed in a pre-warmed spot (it should stay warm) for 24 hours.
Preparing the nursery and sowing
For a 10-are paddy, you need to prepare a 9 m2 dry nursery (3 beds of 1m x 3m), using about 125g of pre-germinated seed per bed (375g total for the 3 beds). The seeds are sown on pre-prepared beds rich in organic matter to produce sturdy seedlings. Note that the nursery should be watered generously in the morning and/or evening to ensure a good water supply for healthy seedling growth and development, since the agronomic importance of water no longer needs proving.
Transplanting
Transplanting into the paddy is done when the seedlings are at the 2-leaf stage, i.e. about 5 to 10 days after sowing, depending on soil and climate conditions.
It's important to transplant at the two-leaf stage and no later, because the older the seedling is at transplanting, the less it will tiller, and the lower the harvest yield will be.
Transplanting is done in a square pattern using a marker or a knotted string to allow good tillering and mechanical weeding, keeping a minimum spacing of 25 x 25 cm (more if the paddy is very fertile).

Comments (0)
No comments yet. Share your experience or ask your question.