
Making Compost to Reduce Fertilizer Costs
Compost is an organic fertilizer resulting from the controlled decomposition of plant matter (organic kitchen scraps, harvest residues, leaves, straw, etc.) and animal residues (manure, shells, bones, fish bones, etc.)...
Contents 10
Compost, an organic fertilizer resulting from the controlled decomposition of plant matter (organic kitchen scraps, harvest residues, leaves, straw, etc.) and animal residues (manure, shells, bones, fish bones, etc.), is a very important input in agricultural production. Mastering how to make it will therefore allow producers to reduce their fertilizer costs.
In this article, we'll show you how to make two (02) types of compost, namely:
- Solid compost, which has a longer storage life;
- Liquid compost, which has a shorter storage life.
I - How to make liquid compost
Because of its short shelf life, it must be made ahead of time so it's ready when crops need it, and above all its production process must be well mastered to avoid burning the plants.
Unlike solid compost, liquid compost cannot be used as a base fertilizer (since it doesn't improve soil structure) but only as a supplementary feed, and it's also easier to make and requires less work.
So, to make liquid compost, you'll need:
- A 100 L container (jerrycan or drum);
- 10 kg of a mix of fresh leaves: it's worth using plants with important properties, such as fertilizing plants (Mucuna pruriens, Leucaena leucocephala, Pueraria phaseoloides, Moringa oleifera); nematode-repelling plants (Chromolaena odorata); insect-repelling plants (Nicotiana tabacum), etc.;
- 6 kg of well-decomposed manure (chicken droppings, cow dung, pig slurry, etc.);
- Water;
- A fiber or jute sack;
- A large stone;
- A stick.
I.1 PRODUCTION STEPS
Step: 1
Fill the jute sack with the 10 kg of fresh leaves plus 6 kg of well-decomposed manure and tie it well, then place it in the 100 L drum and fill the drum with water until the jute sack is fully submerged.
Note that you can also mix the ingredients directly in the drum if you don't have a jute sack.
Step: 2
Here, use a large stone to hold the jute sack at the bottom of the container by placing it on top of the sack, then close the drum partially with its lid, or fully with a cloth or sheet, to protect the mixture from flies and bad odors, and above all to let it breathe.
Step: 3
This step involves letting the mixture steep. So, two (02) days after closing the drum, stir the mixture with a stick for at least 5 minutes, then add water if needed so that the sack is fully submerged again, and close it back up.
Repeat this process once a week until the compost matures, which takes between 04 and 07 weeks, and the resulting liquid should be stored in a shaded, well-protected spot for a month. If mixed directly in the drum, filter the mixture first before storing it.
I.2 Using the compost
It should be applied with a watering can to young transplanted seedlings, then regularly throughout their growing cycle (especially for vegetable growing).
II - How to make solid compost
With the great advantage of being able to be stored for a long period (06 months or more) if kept under good conditions, solid compost can be made either in bins or in heaps or windrows, in order to produce compost in quantity and of good quality; its volume will therefore depend on the amount of material being processed. To prepare it, you'll need the following:
- Dry matter such as straw;
- Fresh matter such as kitchen scraps and plant debris from cleared land, and especially legumes whose foliage is very rich in nitrogen (namely: Mucuna pruriens, Pueraria phaseoloides, etc.);
- Fertile soil or ash;
- Well-decomposed manure (chicken droppings, pig slurry, cow dung, etc.);
- Water;
- A stick, fork, or something to turn the compost with.
II.1 PREPARATION PHASES
Phase: 1
This involves choosing a location, which should be near a water source and in the shade.
Phase: 2
This involves preparing the ingredients listed above and marking out the composting area, which should be flat and can measure 2 m long by 1.5 m wide and 10 cm deep.
NOTE: preparation involves cutting the woody parts (stems, branches, etc.), which are rich in carbon, into fine pieces less than 10 cm long, and the non-woody parts (leaves, kitchen scraps, etc.), which are rich in nitrogen, into coarser pieces. It's also worth noting that adding legumes isn't mandatory, but their presence, when available, will help increase the fertility of the compost.
Phase: 3
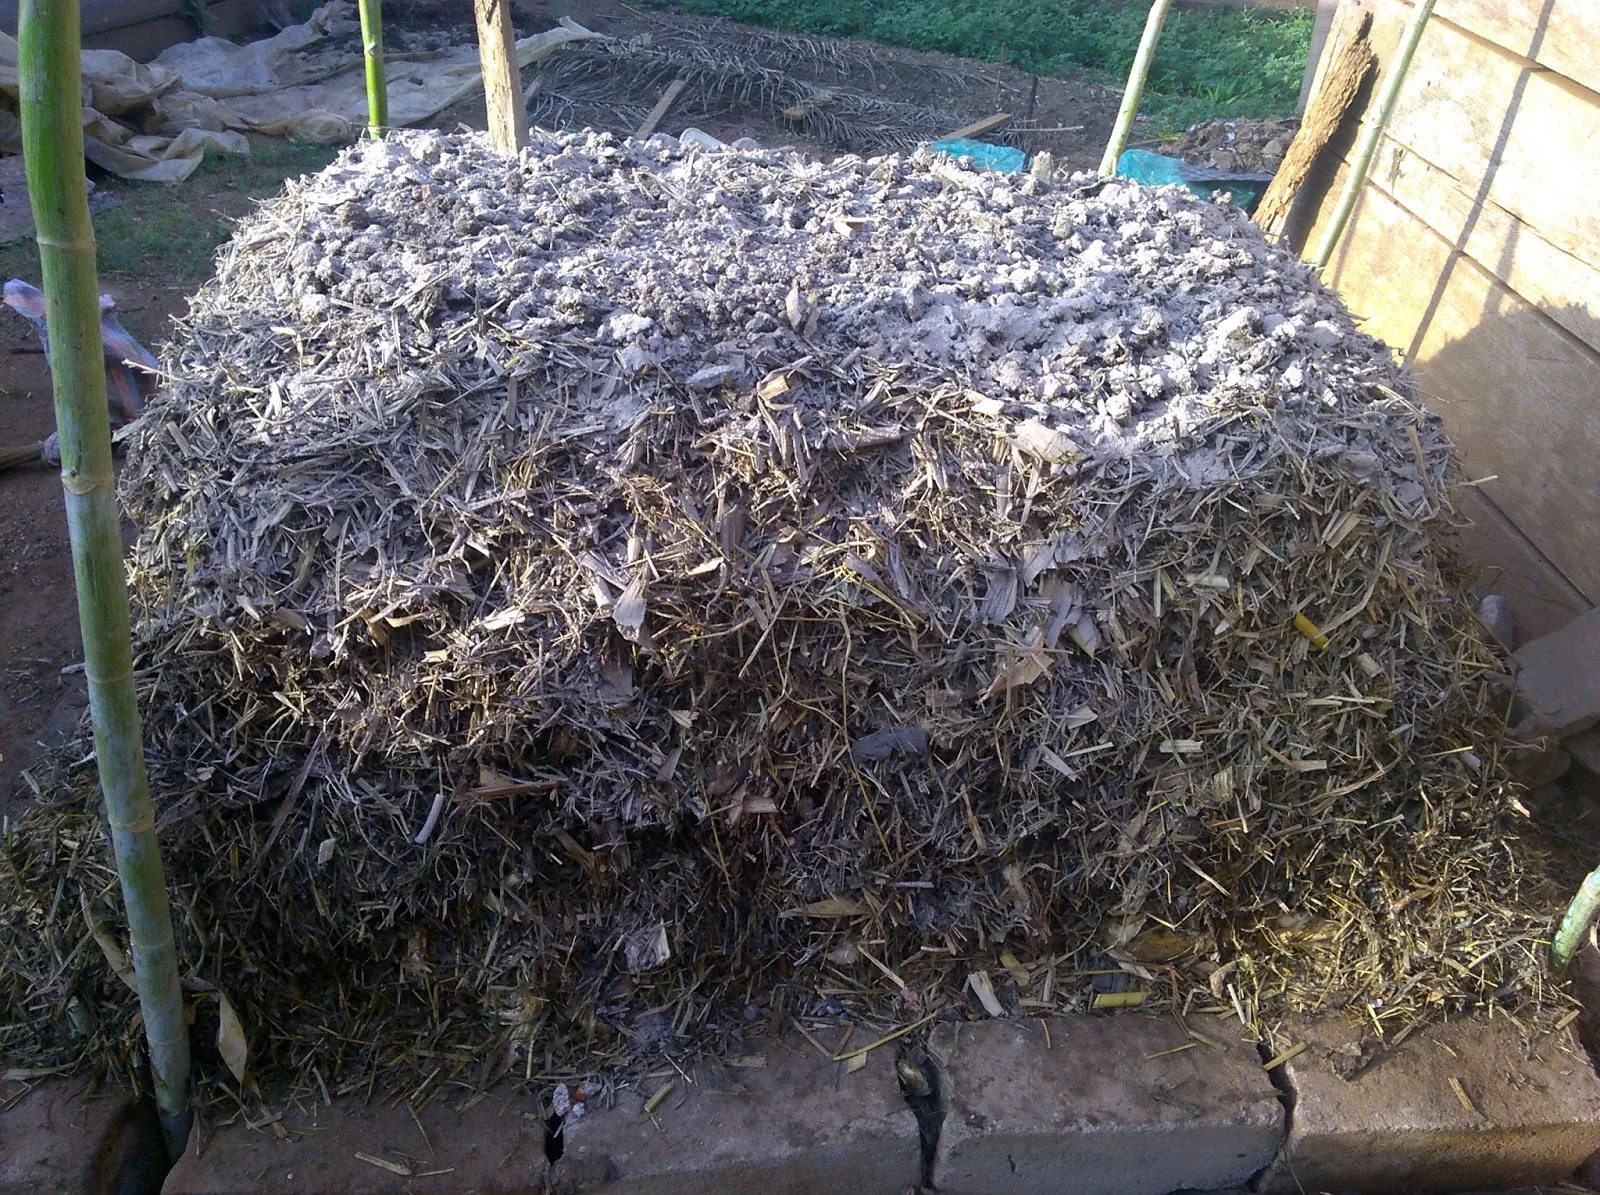
Here, the different layers should be arranged as follows:
- Water the marked-out area and lay down the coarse pieces (chopped banana trunk, etc.) then straw to a height of about 20 cm, all well packed down;
- Add a layer of about 5 cm of manure, plus wood ash if available;
- Water everything well and lay a layer of fresh matter about 15 cm high on top, then water that layer too;
- Repeat the same process starting from the straw layer until you reach a pile 1.5 m high, if enough of the necessary materials are available.
Note that a stick should be placed vertically in the center of the pile to allow for temperature checking and aeration of the pile.
Phase: 4
Once all the layers are in place, cover the pile with banana leaves or black plastic sheeting to retain moisture and heat.
Phase: 5
Every 10 days until the compost matures (after 02 to 03 months), remove the stick from the pile and touch its buried end to make sure the pile is heating up properly. The compost should then be turned, respecting the order of the layers so that the top layers end up at the bottom and the bottom layers end up on top, tucking the edges into the center of the pile, followed by a light watering of the pile.
II.2 Using solid compost
Once fully matured, the compost is stable, brown in color, and odorless. It should be applied by mixing it directly into the soil before and/or during the growing season, over the whole plot if available in sufficient quantity, or in a targeted way at the base of each plant.
Would you like to invest in agriculture? Don't hesitate to contact us. We offer support services to help you carry out your agricultural projects.

Comments (0)
No comments yet. Share your experience or ask your question.